July 21, 2008
July 17, 2008
July 10, 2008
S23M
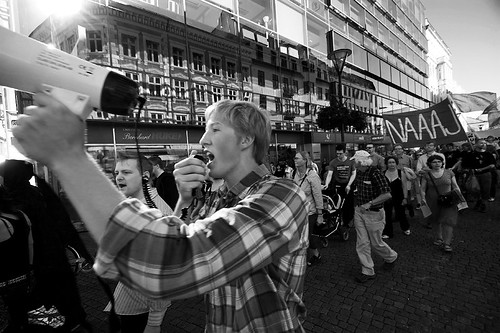
S23M - Piratbyrån och The Pirate Bays buss var på besök i Malmö idag. Parkerad bredvid Stapelbäddsparken. http://www.piratbyran.org/s23m/
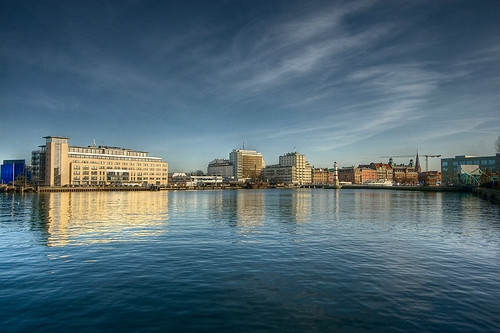
Taggar: Canon EOS 30D, Västra Hamnen
July 3, 2008
July 2, 2008
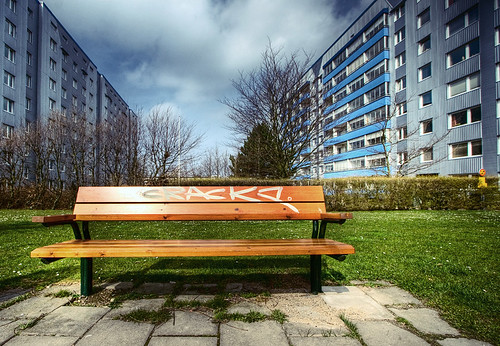
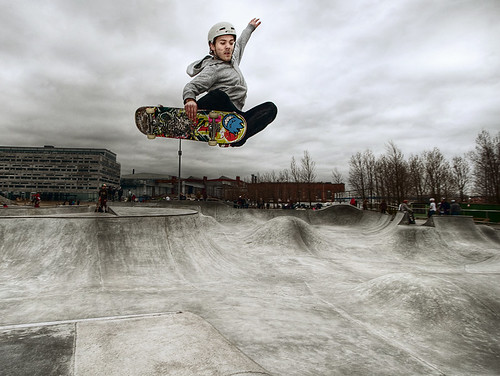
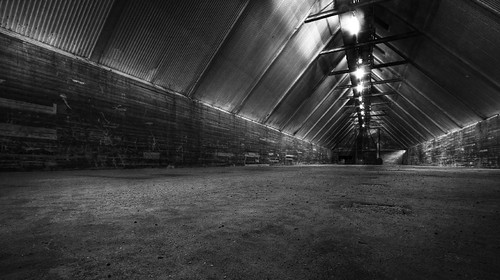
HDR + LAB tutorial
Break-down of the postprocessing
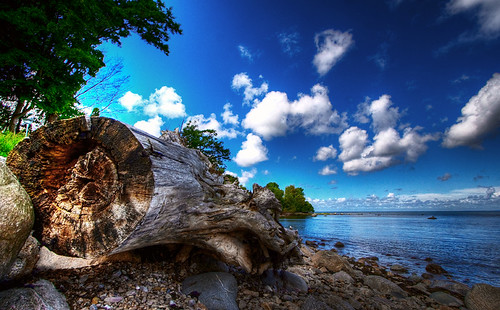
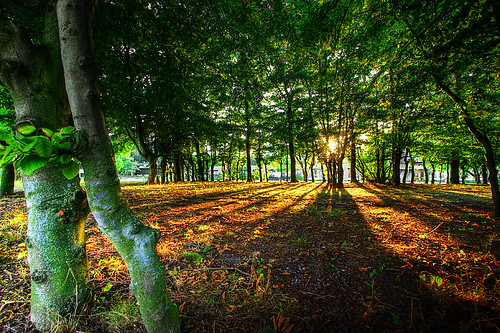
These shots are all edited in roughly the same way. I will briefly try to explain how I've done it.
Conversion from RAW to jpeg
The proper way to make HDR images is to take a bunch of different exposures of a subject and then merge them together. When you're shooting
RAW you don't have to do this. It's possible to make different exposures from 1 RAW file. (Although the final result is not as good as if you'd do a proper multiple exposure HDR image).
I always shoot RAW so I (among other reasons) have the ability to make an (pseudo) HDR image out of almost every photo I take!
When I have a photo I want to create an HDR image of I load it into Lightroom and create 3 jpegs with different exposure values from the RAW file. I usually go with -1 EV, 0EV and +1EV.
Tone-mapping in Photomatix
When I have my 3 (or more) differently exposed jpegs I load them into Photomatix and generate an HDR out of them. In the Photomatix menu that is: HDR -> Generate (or Ctrl+G). Then, load the images, click OK, and then you get to adjust the exposure values of the shots. Photomatix usually figures that out by itself, but sometimes you'll have to edit it manually. When you're happy click OK two times.
(It's possible to load the RAW file directly into Photomatix and skip the step with the jpegs. But I think it's better to create the jpegs as that gives you the chance to set white balance, crop and rotate the shot within Lightroom.)
When that's done I bring up the Tone mapping dialog (HDR -> Tone mapping or Ctrl+T). In there you want to make the photo look pretty natural. The default values
are usually good IMO, but there's usually something you want to do to improve things. When you've got something you like, save it up.
Adjustments in Photoshop
Load the file you created in Photomatix into Photoshop.
The steps I do in PS are usually:
- Crop and/or rotate the photo.
- Change the image mode to Lab color and then boost the colors using the Curves dialog.
- Flatten the curves layer and then convert the image back to RGB mode.
- Add a HUE/Saturation layer and desaturate the colors a little. (This makes the image look a little bit more natural.)
- Play around with a curves layer to give the image a little bit more contrast.
- Bring up another curves layer and adjust the colors to something I like.
- Sharpening! Using Unsharp mask or High Pass filter depending on how and what I wanna sharpen.
- Save it & upload to Flickr! Done!
Some info
Equipment used
In all of these shots I've used my Canon EOS 30D and EF-S 10-22mm lens. I'm using the camera in AV mode and shooting RAW. When you're making HDR images you'll want to keep the ISO setting as low as possible because noise shows up really easy in these type of images.
Software used
- Adobe Lightroom
- Photomatix Pro
- Adobe Photoshop
This tutorial was last updated 2008-12-01

